If you're looking to create a thriving environment for your orchids without spending a fortune, you might want to take into account a $5 DIY humidifier. It's surprisingly effective and can outperform those high-priced models that don't always deliver on their promises. Using simple materials, you can easily craft a setup that maintains the right humidity levels essential for your orchids' growth. But how exactly do you put this together, and what tips can guarantee your homemade humidifier works at its best? Let's explore the details that can make all the difference in your orchid care routine.
Key Takeaways
- Create an effective DIY orchid humidifier using a shallow tray, pebbles, and water for a cost-effective solution.
- Maintain ideal humidity levels of 40-70% by regularly misting orchids and using a hygrometer to monitor conditions.
- Elevate pots above water using pebbles to prevent root rot while allowing humidity to circulate around the plants.
- Grouping orchids together fosters a beneficial microclimate, enhancing humidity without expensive equipment.
- Regular maintenance of the humidifier setup ensures optimal performance, such as daily water checks and weekly cleaning.
Importance of Humidity for Orchids

Humidity plays an essential role in the health and importance of orchids. These beautiful plants thrive in environments that mimic their natural tropical habitats, where humidity levels often soar. When you provide adequate moisture in the air, it not only helps your orchids absorb water but also supports their overall growth and blooming potential.
You might notice that low humidity can lead to various issues, such as leaf drop or stunted growth. By ensuring the right humidity levels, you're actively promoting the well-being of your orchids, allowing them to flourish. It's rewarding to see them thrive under your care, and you're making a positive impact on their lives.
When you maintain proper humidity, your orchids are less susceptible to pests and diseases, which can be stressful for both you and the plants. Additionally, higher humidity encourages the development of vibrant flowers, making them more visually stunning.
So, by prioritizing humidity, you're not just caring for your orchids; you're enhancing the beauty of your space.
In essence, adjusting humidity isn't just a chore; it's an opportunity for you to nurture and serve these remarkable plants, creating a delightful environment for them to thrive.
Materials You'll Need
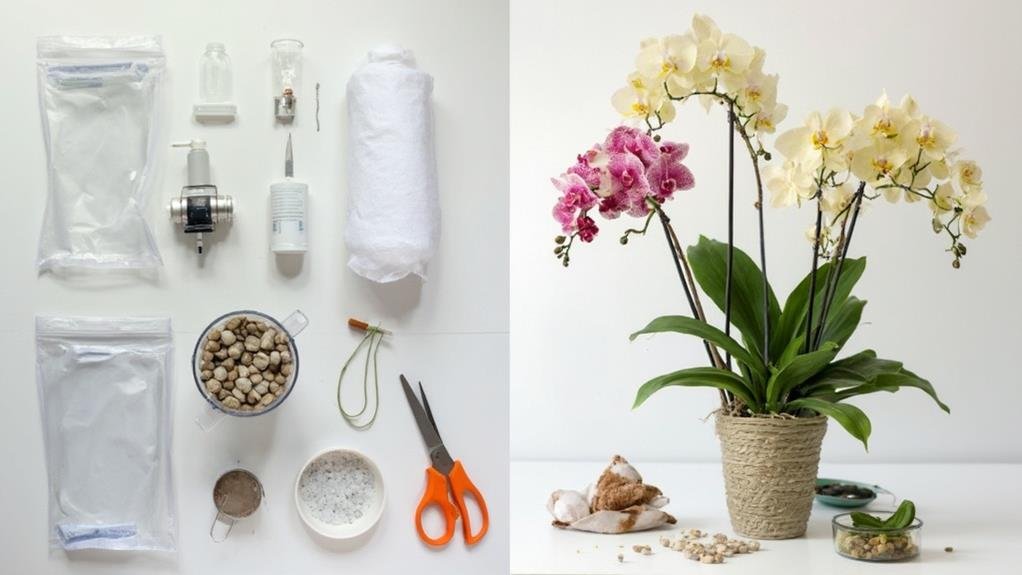
To create your DIY orchid humidifier, you'll need a few essential materials to guarantee it's effective. Start with a shallow tray or dish, which will hold water and provide a base for your humidifier.
Next, gather some pebbles or marbles; these will elevate the pots above the water level, allowing humidity to circulate without drowning the roots. You'll also need a spray bottle to mist your orchids whenever necessary, ensuring they receive that extra boost of moisture.
For added functionality, consider including a small fan to help distribute humidity evenly. A hygrometer can be beneficial too, as it lets you monitor the humidity levels.
Finally, secure some cotton or sponge material; these can be used to wick moisture into the air, enhancing your humidifier's efficiency.

With these materials in hand, you're well on your way to creating a budget-friendly solution that'll keep your orchids thriving. Not only will this project help you care for your plants, but it'll also empower you to share your love for orchids with others by demonstrating how simple and affordable proper care can be.
Happy gardening!
Step-by-Step Assembly Guide
Now it's time to put your materials together and create your DIY orchid humidifier.
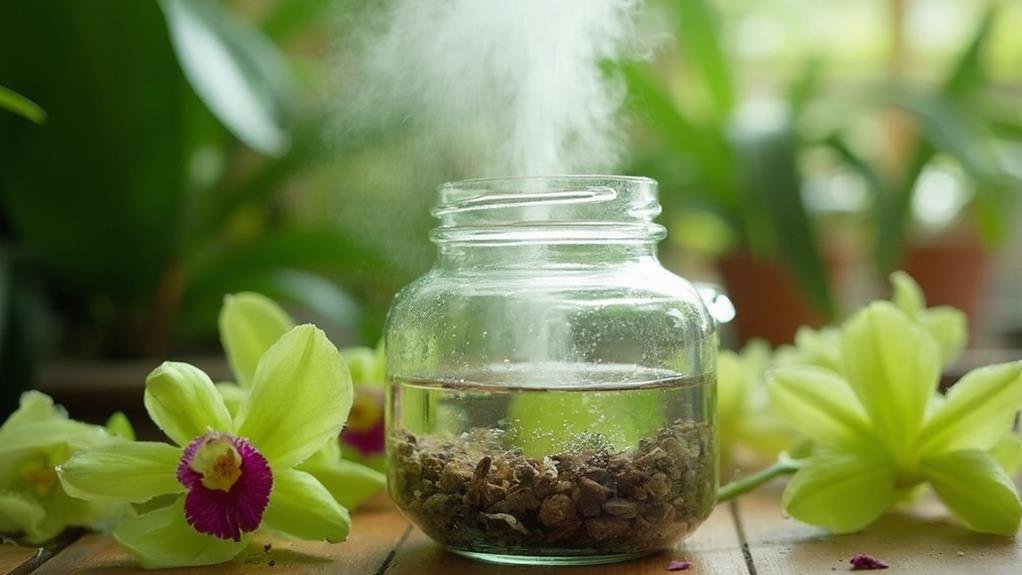
First, take your shallow dish and fill it with water. Aim for about an inch deep, enough to provide moisture without overflowing.
Next, place your pebbles or marbles in the dish, ensuring they're evenly distributed.
Once you've set the base, take your orchids and gently place them on top of the pebbles. The idea here is to elevate the pots above the water while allowing humidity to rise around them.
If you're using multiple orchids, make sure they've enough space to thrive without crowding each other.
Now, if you have a small fan, position it nearby to help circulate the humid air. This step is optional, but it can enhance the humidification process.
Tips for Optimal Humidity
Creating the perfect environment for your orchids involves maintaining ideal humidity levels. To achieve this, you should aim for a humidity range of 40-70%.
Consider placing your humidifier near your orchids, but not directly on them, to distribute moisture evenly without over-saturating the plants.
Monitor the humidity regularly using a hygrometer; this simple tool will help you guarantee that your orchids are getting just the right amount of moisture. If you notice the humidity dropping, you can mist the air around your orchids, but avoid soaking the leaves directly to prevent rot.
Grouping your orchids together can also create a microclimate, increasing humidity naturally. The moisture released from their leaves will benefit each other.
Additionally, placing a tray filled with water and pebbles beneath your orchids can help maintain humidity levels; as the water evaporates, it will moisten the air.
Lastly, consider the time of year. During dry winter months, you may need to adjust your humidity strategy.
Keeping a close eye on all these factors will help you serve your orchids' needs effectively, guaranteeing they thrive in their ideal environment.
Maintenance and Care of Your Humidifier
Maintaining your humidifier is essential for keeping humidity levels ideal for your orchids. Regular upkeep guarantees your plants thrive and reduces the risk of mold and bacteria buildup.
Start by checking the water level daily; topping it off helps maintain consistent humidity. Use distilled or purified water to prevent mineral deposits from clogging the system.
Every week, clean the humidifier's reservoir with a mixture of water and vinegar. This helps eliminate any lingering odors and prevents algae growth. Rinse thoroughly afterward to confirm no vinegar residue remains.
Pay attention to the filter, if your humidifier has one. Check it monthly and replace it as needed to assure peak airflow and performance. This small step can greatly enhance your humidifier's efficiency.
Lastly, keep an eye on the humidifier itself. Wipe it down regularly to remove dust and debris that may affect its operation.
Frequently Asked Questions
Can I Use This Humidifier for Other Plants Too?
Absolutely, you can use this humidifier for other plants! Many houseplants thrive in higher humidity. Just position it near your plants, and they'll benefit from the moisture, promoting healthier growth and vibrant leaves.
How Often Should I Refill the Water?
You should refill the water whenever it drops below the halfway mark. Keeping it topped off helps maintain humidity levels for your plants, ensuring they thrive and remain healthy. Regular checks will simplify this process!
Will This Humidifier Work in a Small Space?
Yes, this humidifier works well in small spaces. You'll notice improved humidity levels quickly, making it perfect for keeping your plants thriving. Just make sure you monitor the water level for peak performance. Enjoy nurturing your greens!
Can I Color the Materials for Aesthetics?
Yes, you can color the materials for aesthetics! Use non-toxic paints or dyes to enhance the look. Just make certain they don't interfere with the humidifier's function, so your plants thrive beautifully and healthily.
Is This Humidifier Safe for Pets?
You'll find this humidifier generally safe for pets, but it's wise to monitor their behavior around it. Make sure they can't access any water or materials, keeping your furry friends healthy and happy while enjoying the humidity.
Conclusion
Creating your own $5 DIY orchid humidifier is a simple yet effective way to boost humidity for your orchids without spending a fortune. By following the steps outlined, you can easily assemble a humidifier that mimics their natural environment, promoting healthier growth and stunning blooms. Don't forget to maintain and adjust it as needed to keep your orchids thriving. With your new setup, you'll enjoy the beauty of flourishing orchids right in your home!