If you've ever struggled to get your orchid to rebloom, you're not alone. Many enthusiasts face the same challenge, but there's a surprisingly simple technique that can help you succeed. By mimicking the orchid's natural environment, you can coax it back into a vibrant flowering cycle. Imagine adjusting light, temperature, and nutrients in a way that feels almost counterintuitive. Curious about how this method unfolds and what steps you should take? Let's explore the details that can transform your approach to orchid care.
Key Takeaways
- Apply a temperature shock by placing orchids in cooler conditions (55°F to 60°F) at night to stimulate bloom cycles.
- Ensure consistent exposure to bright, indirect sunlight during the day to promote healthy growth and reblooming.
- Use a gentle fertilizer with high phosphorus content every two weeks to encourage blooming.
- Allow the potting medium to dry slightly between waterings to simulate natural conditions and stimulate growth.
- Remove dead leaves and spent blooms to encourage new growth and reblooming in orchids.
Understanding Orchid Bloom Cycles

While many gardeners marvel at the beauty of orchids, understanding their bloom cycles is vital for encouraging reblooming. Each orchid species has unique blooming habits, and knowing these can help you provide the right care.
Typically, orchids bloom once a year, but some may flower multiple times, depending on their conditions.
You'll want to pay attention to the cues your orchid provides. After blooming, most orchids enter a rest period where they conserve energy. During this time, it's important to reduce watering and allow the plant to rejuvenate.
As the rest period concludes, you'll notice new growth, signaling it's time to adjust your care routine. Increase humidity and provide adequate light to stimulate the blooming process. Fertilizing during this phase can also promote healthy blooms.
The Strange Technique Explained
If you've ever felt frustrated by your orchid's reluctance to bloom again, you might want to try a technique that seems unconventional but can yield impressive results. This method involves mimicking the orchid's natural environment to trigger its blooming cycle.
Start by giving your plant a "shock" through temperature adjustments. For instance, place your orchid in a cooler area at night—ideally around 55°F to 60°F. This drop in temperature can spur the plant's response to produce blooms.
Next, consider altering the light conditions. Orchids thrive in bright, indirect sunlight, so guarantee your plant receives plenty of light during the day. You can also use a gentle fertilizer with a higher phosphorus content; this nutrient encourages blooming. Applying it every two weeks can be quite effective.
Lastly, don't forget to water your orchid properly. Ensure the potting medium dries out slightly between waterings, which can help stimulate growth.
Preparing Your Orchid
To get your orchid ready for reblooming, start by choosing the right pot that allows for proper drainage.

Next, you'll want to select an ideal soil mixture that suits your orchid's needs.
Choosing the Right Pot
Choosing the right pot is essential for your orchid's health and ability to rebloom. Start by selecting a pot that provides adequate drainage; orchids thrive when their roots aren't sitting in water. Look for pots with multiple drainage holes to guarantee excess moisture escapes easily.
You'll want a pot that's slightly larger than your orchid's current one, allowing for growth without overwhelming its roots.
Material matters too. Clay pots are breathable and help prevent overwatering, while plastic pots retain moisture longer, which can be beneficial for certain orchid types. Whichever you choose, make sure it's clean and free of any previous plant residues to avoid disease.
Consider the shape of the pot as well. Orchids often prefer pots that are wider than they're deep, as their roots grow horizontally. If possible, choose a transparent pot; this lets you monitor root health and moisture levels at a glance.
Optimal Soil Mixture
Creating the ideal soil mixture is essential for your orchid's health and ability to rebloom. To guarantee your orchid thrives, you'll want to use a blend that supports its unique needs.
Orchids require well-draining soil to prevent root rot, so consider incorporating materials like bark, sphagnum moss, and perlite.
Start with a base of fir bark or orchid bark chips, making up about 50% of your mixture. This allows for excellent drainage and aeration.
Next, add 30% sphagnum moss, which helps retain moisture while still allowing air circulation.
Finally, include about 20% perlite or charcoal to further enhance drainage and prevent compaction.
Mix these components thoroughly to create a balanced, lightweight soil mixture.
When you repot your orchid, gently shake off the old medium and place it in the new blend. This fresh soil will provide essential nutrients and a suitable environment for your orchid to flourish.
Watering Practices Explained
After setting up the right soil mixture, the next step in preparing your orchid involves understanding its watering needs. Orchids thrive when you adopt a careful watering routine tailored to their specific requirements.
Start by checking the moisture level of the soil. Stick your finger about an inch deep into the mix; if it feels dry, it's time to water.
When you do water, make sure to use room-temperature water to avoid shocking the plant. Water thoroughly, allowing excess to drain out of the pot's bottom. This guarantees the roots receive adequate moisture without sitting in soggy soil, which can lead to root rot.
Aim to water your orchid every 1-2 weeks, but adjust based on your home's humidity and temperature.
Step-by-Step Application
Now that you've prepared your orchid, it's essential to focus on timing and conditions for reblooming.
You'll need to create the right environment for your plant to thrive and set the stage for those beautiful flowers.
Let's break down the steps to guarantee your orchid gets the care it needs for a stunning rebloom.
Preparing Your Orchid
To successfully prepare your orchid for reblooming, you'll need to focus on both its environment and care routine.
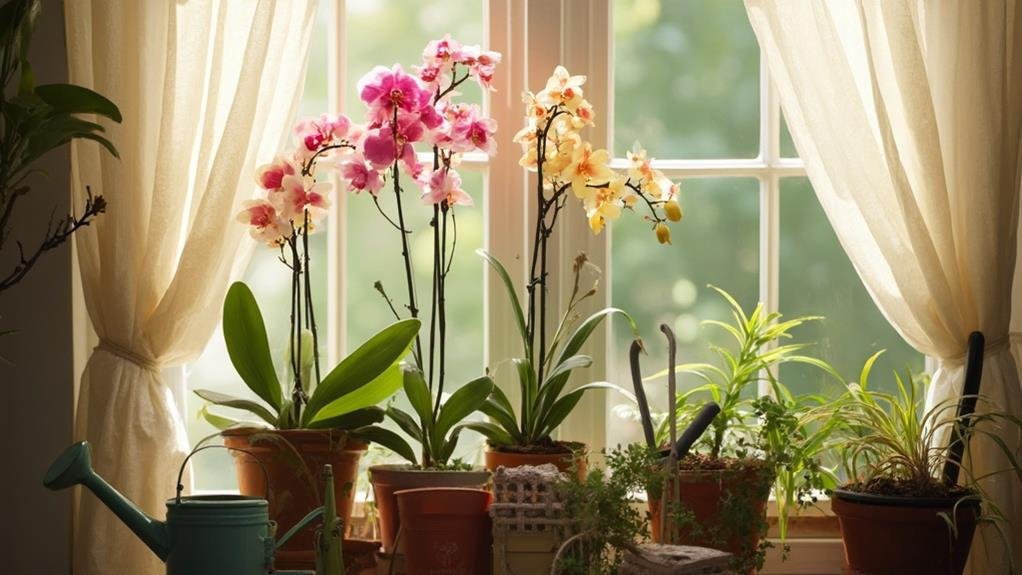
Start by evaluating its current location. Orchids thrive in bright, indirect light, so make sure it's positioned away from direct sunlight that could scorch its leaves. If necessary, consider moving it to a brighter spot or using sheer curtains to diffuse harsh rays.
Next, check the temperature. Orchids prefer temperatures between 65°F and 75°F during the day, with a slight drop at night. Keeping your orchid in this range will encourage healthy growth.
Watering is vital; give your orchid a good soak when the potting medium feels dry to the touch. Make certain excess water drains away to prevent root rot.
Don't forget to fertilize! Use a balanced orchid fertilizer every two weeks during the growing season to provide essential nutrients.
Lastly, remove any dead or yellowing leaves and spent blooms. This not only enhances its appearance but also diverts energy back into the plant, promoting new growth.
Timing and Conditions
Understanding the right timing and conditions is essential for encouraging your orchid to rebloom. Start by observing the natural cycle of your orchid species. Most orchids thrive in a period of rest after blooming, usually lasting 6 to 8 weeks. During this time, reduce watering and avoid fertilizing. This mimics their natural habitat, allowing them to gather strength for the next bloom.
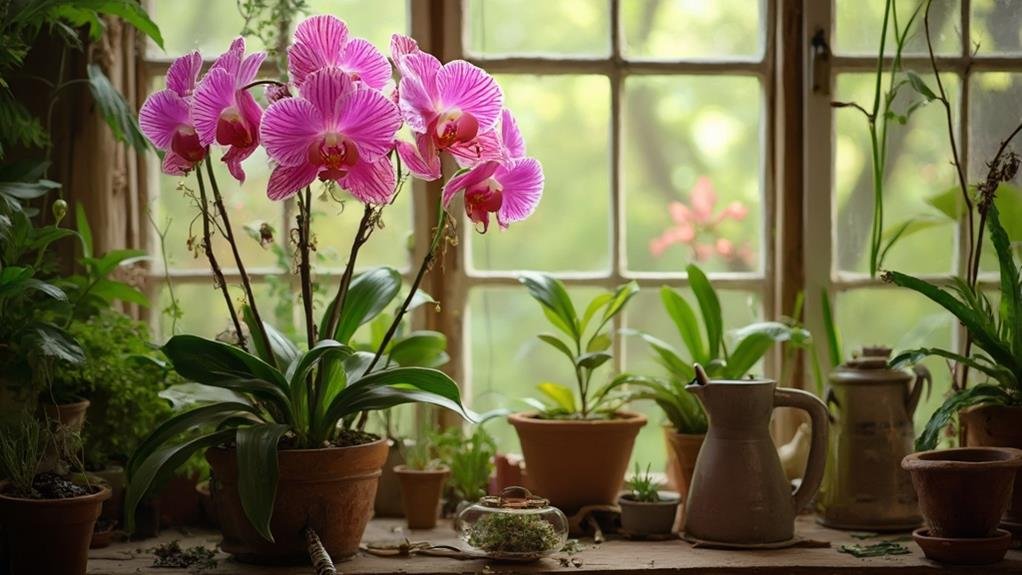
Next, consider light conditions. Orchids generally require bright, indirect sunlight. Place your orchid near a window where it can soak up light without being scorched. If natural light is insufficient, supplement with grow lights.
Temperature plays a significant role, too. Most orchids prefer daytime temperatures between 70°F and 80°F and nighttime temperatures around 60°F to 65°F. Maintaining this temperature range creates a comfortable environment for your orchid.
Common Mistakes to Avoid
When caring for orchids, avoiding common pitfalls can make all the difference in getting your plant to rebloom. One major mistake is overwatering. Orchids thrive in well-draining conditions, so be sure to let the potting medium dry out slightly between waterings.
Another mistake is placing your orchid in low light. These plants need bright, indirect sunlight to flourish, so find a suitable spot where they can soak up the light without direct exposure.
Don't forget about humidity! Orchids love humidity levels around 50-70%. If your home is dry, consider using a humidity tray or a room humidifier to keep your plant happy.
Additionally, avoid using regular potting soil; instead, opt for a special orchid mix that allows for proper air circulation around the roots.
Lastly, be cautious with temperature fluctuations. Orchids prefer stable conditions; try to maintain temperatures between 65-75°F during the day and slightly cooler at night.
Aftercare for Optimal Growth
Proper aftercare is key to ensuring your orchid thrives and reblooms. Once your orchid has finished blooming, it's important to give it the care it needs to rejuvenate. Start by cutting back the flower spike to a node, which encourages new growth.
Make sure to keep the orchid in a bright, indirect light, as too much direct sunlight can scorch its leaves.
Water your orchid carefully, allowing the potting medium to dry out slightly between waterings. Typically, watering once a week is sufficient, but always check the moisture level first.
Fertilizing every two to four weeks with a balanced orchid fertilizer will provide essential nutrients and support growth. During the active growing season, you can increase the frequency.
Humidity is also vital for orchids. Aim for 40-60% humidity in their environment. You can achieve this by misting the leaves or placing a humidity tray nearby.
Finally, be patient. Orchids need time to recover after blooming, and with your attentive care, they'll reward you with stunning flowers again.
Real-Life Success Stories
Many orchid enthusiasts have experienced the joy of bringing their plants back to life after a dormant period.
You might recall the story of Emily, who thought her beloved Phalaenopsis would never bloom again. After following a specific watering schedule and adjusting her light exposure, she finally saw a flower spike emerge. Her success inspired her to share her knowledge with friends, helping them revive their own orchids.
Then there's Mark, who'd nearly given up on his Cattleya after several months of no blooms. He embraced the strange technique of temperature manipulation, lowering the night temperatures for a few weeks. To his surprise, he witnessed a stunning display of flowers shortly after!
Mark now hosts workshops in his community, empowering others to try the same method.
These stories show how your passion for orchids can't only lead to personal satisfaction but also foster a sense of community. By sharing your successes and techniques, you can guide others on their journey to enjoy the beauty of blooming orchids.
Frequently Asked Questions
Can This Technique Be Used on All Orchid Species?
Not all orchid species respond the same way to techniques. You'll need to research each type's specific needs and conditions. Tailoring your approach can help guarantee successful blooming for the orchids you care for.
What Time of Year Is Best for Applying This Technique?
The best time to apply this technique is during the orchid's active growing season, typically spring or early summer. You'll encourage healthy growth and increased chances for blooming by aligning your efforts with nature's rhythm.
How Long Does the Reblooming Process Typically Take?
The reblooming process usually takes around two to three months. You'll notice new buds forming during this time, so keep an eye on your orchid and provide the right care for best results.
Is This Technique Safe for Young or Weak Orchids?
Yes, this technique's generally safe for young or weak orchids. Just monitor their response closely. If you notice any stress, adjust your approach to guarantee they thrive while encouraging healthy growth and reblooming.
Will This Method Affect the Orchid's Overall Health?
This method's impact on your orchid's overall health depends on how you apply it. If you use care and moderation, it shouldn't harm your plant. Always monitor its response to guarantee ideal well-being.
Conclusion
By mimicking your orchid's natural environment, you can successfully encourage a rebloom. Remember to keep it cool at night, provide bright, indirect sunlight, and use high phosphorus fertilizer every two weeks. Allow the potting medium to dry slightly between waterings to stimulate growth. Avoid common mistakes, and with a bit of care and patience, you'll soon enjoy the beauty of your blooming orchid. Try this strange technique, and watch your orchid thrive!