If you're struggling to get your orchids to thrive, it might be time to rethink their light setup. Often, the solution isn't an expensive grow light but rather a simple $1 trick that can dramatically improve their conditions. By using reflective materials, you can enhance the light your orchids receive without breaking the bank. Curious about how to implement this easy fix and make your plants flourish? There are a few key steps you'll want to evaluate that could transform your orchid care routine.
Key Takeaways
- Position orchids near windows with sheer curtains for optimal bright, indirect light exposure.
- Use reflective materials like aluminum foil behind orchids to enhance light intensity efficiently.
- Regularly rotate orchids to ensure even growth and prevent disease susceptibility.
- Monitor leaf color to assess light adequacy; adjust placement as needed for seasonal changes.
- Clean windows and fixtures regularly to maintain maximum light availability for your orchids.
Understanding Orchid Light Requirements

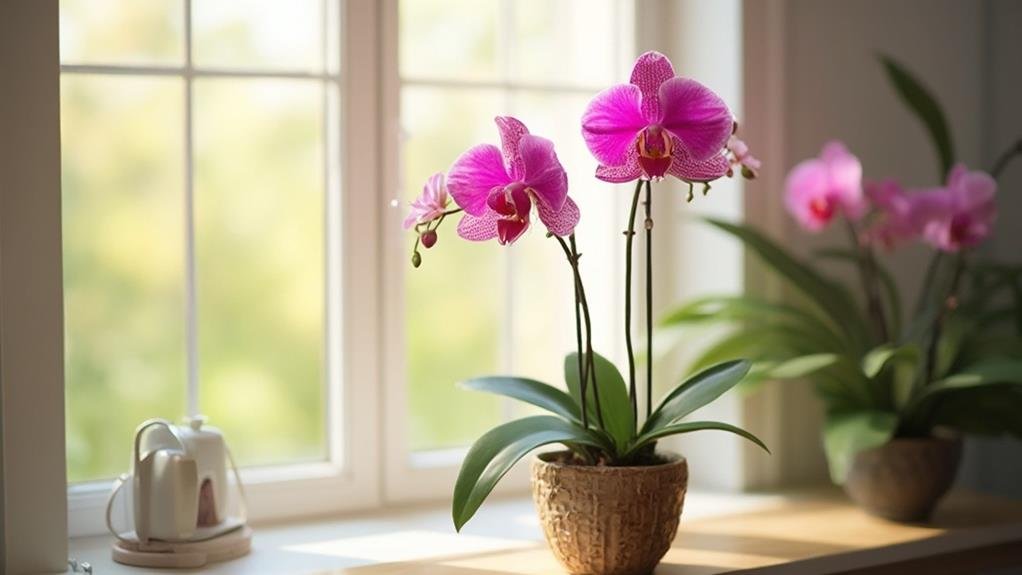
Orchids thrive in bright, indirect light, making it crucial to understand their specific light requirements for best growth. You want to guarantee your orchids receive adequate light without being scorched by direct sun.
Place them near a window that filters sunlight, like one covered with sheer curtains. This way, your orchids can soak up the brightness they crave while avoiding potential damage.
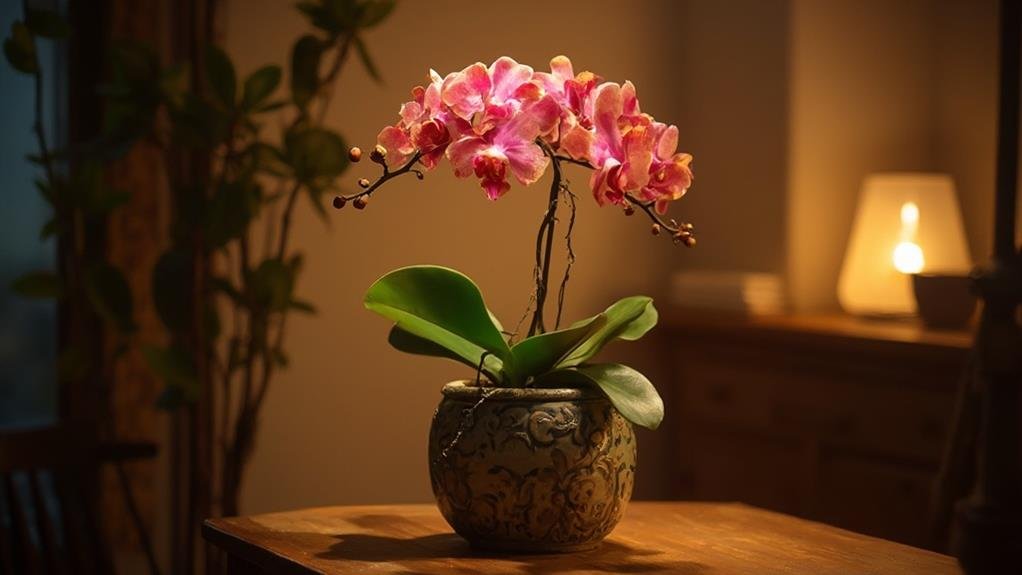
Observe your orchids closely. If you notice their leaves turning yellow, it might mean they're getting too much light. Conversely, dark green leaves could indicate insufficient light.
You can also rotate your orchids every few weeks to promote even growth, allowing all sides to bask in the light.
Consider the seasons, too. During winter, light levels drop, and you may need to reposition your orchids closer to the window.
By being attentive to their needs, you can provide the best conditions for growth and blooming. Remember, serving your orchids well means creating an environment where they can flourish.
With just a little effort and observation, you'll help your orchids thrive, bringing joy to yourself and those who admire their beauty.
Common Lighting Mistakes
Even with a solid understanding of light requirements, it's easy to make common mistakes that can hinder your orchids' growth. One frequent error is placing your orchids in direct sunlight without considering their specific needs. While some orchids enjoy bright light, others thrive in indirect light. Overexposure can lead to leaf burn and stunted growth.
Another mistake is failing to rotate your orchids regularly. When you neglect to turn them, they may grow unevenly as they stretch toward the light source. This can create an unbalanced plant that's more susceptible to disease.

Additionally, ignoring seasonal changes is a misstep you want to avoid. As days get shorter or the sun's angle shifts, your orchids mightn't receive the same light intensity. Be ready to adjust their placement accordingly.
Lastly, don't underestimate the importance of clean light sources. Dust and grime can block out essential light, so keep those windows and fixtures clean for prime growth.
The The $1 Solution Explained Solution Explained

For just a dollar, you can greatly enhance your orchid lighting setup with a simple yet effective solution. This low-cost item can transform the way your orchids receive light, ensuring they thrive under ideal conditions. The key is to use a reflective material that directs light to your plants, maximizing its reach and intensity.
Consider using aluminum foil or a similar reflective surface. By placing this material behind your orchids, you'll effectively bounce light back toward your plants. This not only helps distribute light evenly but also improves the overall health of your orchids. They'll receive the bright, indirect light they crave, promoting vibrant blooms and lush foliage.
What's fantastic about this $1 solution is its accessibility. You don't need expensive equipment or complicated setups. Just a roll of aluminum foil, some scissors, and a little creativity can go a long way.
Plus, this approach encourages sustainable practices by utilizing materials you likely already have at home.
How to Implement the Solution
Now that you've got your reflective material ready, implementing this solution is straightforward.
First, choose an area in your home where your orchids will thrive. Ideally, this spot should receive indirect light for several hours a day. Place your orchids in their pots in this location.
Next, position your reflective material—whether it's aluminum foil, mylar, or a reflective sheet—on the wall or near the plants. Make sure it faces the orchids, maximizing the light that bounces back onto them. You can use tape or adhesive to secure the material, ensuring it stays in place.
Once the reflective surface is set up, arrange your orchids so that they benefit from the enhanced light. Adjust their spacing as needed, so each plant receives sufficient illumination without overcrowding.
Monitoring and Adjusting Light Conditions
Monitoring the light conditions for your orchids is essential to their health and growth. You'll want to regularly check how much light your plants are receiving and adjust accordingly.
Start by observing their leaves; if they're yellowing, your orchids might be getting too much light, while dark green leaves can indicate insufficient light.
Use a light meter or a simple app on your phone to measure light intensity. Aim for the recommended levels specific to your orchid type. If you notice your orchids struggling, consider relocating them to a spot that offers better light exposure.
During different seasons, light conditions can change dramatically. In winter, for example, you might need to move your orchids closer to a window or supplement with artificial grow lights.
Don't forget to rotate your orchids every few weeks to guarantee even light distribution on all sides.
Frequently Asked Questions
Can I Use Regular Light Bulbs for Orchids?
You can use regular light bulbs for orchids, but they might not provide the ideal spectrum. Consider using full-spectrum bulbs instead; they'll help your orchids thrive and bloom beautifully, ensuring you serve their needs effectively.
How Often Should I Change My Orchid's Light Setup?
You should evaluate your orchid's light setup every few months. If you notice slow growth or yellowing leaves, it's time to adjust. Consistent monitoring helps guarantee your orchids thrive and flourish beautifully.
What Type of Orchids Benefit Most From This Solution?
Orchids like Phalaenopsis and Cattleyas thrive with proper light adjustments. You'll find they respond well to brighter conditions, enhancing their growth and blooms. Just observe their reactions and adjust as needed for peak health.
Are There Specific Times of Year for Optimal Lighting?
Yes, orchids thrive with ideal lighting during spring and summer. You'll notice they benefit from longer daylight hours, so adjust your setup accordingly to guarantee they receive ample light throughout these vibrant seasons.
Can I Use This Solution for Other Houseplants?
Yes, you can definitely use this solution for other houseplants! It helps optimize light conditions, ensuring your plants thrive. Just be mindful of each plant's specific needs for light duration and intensity.
Conclusion
By using this simple $1 solution, you can greatly enhance the light conditions for your orchids without breaking the bank. Just position reflective materials like aluminum foil behind your plants to boost light distribution. Keep an eye on your orchids' leaf color and adjust their placement as needed. With a little attention and care, you'll enjoy healthier growth and stunning blooms, all thanks to your newfound lighting setup!