If you've ever wanted to propagate orchids successfully, you might be surprised to learn that a common kitchen ingredient can make a significant difference. By using cinnamon, you can enhance your orchid's rooting process and fend off potential infections. It's a simple yet effective method that can lead to thriving plants with the right care. But before you get started, there are some important steps and tips you need to know to guarantee your success. Let's explore how this everyday spice can transform your orchid propagation journey.
Key Takeaways
- Use cinnamon as a natural rooting hormone to promote healthy root growth in orchid cuttings.
- Dust the cut ends of orchid stems with cinnamon to seal wounds and prevent fungal infections.
- Ensure you use clean tools for cutting to maintain healthy roots during propagation.
- Provide bright, indirect sunlight and monitor humidity for optimal growth after propagation.
- Be patient; orchids take time to adjust and thrive after being propagated.
Understanding Orchid Propagation
Understanding the basics of orchid propagation can open up a world of possibilities for any plant enthusiast. When you immerse yourself in this rewarding hobby, you'll discover that sharing your orchids with friends or even developing your own collection is incredibly fulfilling.
Start by familiarizing yourself with the different methods of propagation, such as division, keiki, and seedling propagation. Each technique caters to various orchid types and growth stages, so knowing your plants is essential.
As you explore these methods, you'll find that division is one of the simplest and most effective approaches. It involves separating a mature plant into smaller sections, each capable of thriving on its own.
You'll need clean tools and a keen eye for healthy roots to guarantee successful outcomes.
The Secret Kitchen Ingredient
In the quest for healthier orchids, you might be surprised to learn that a common kitchen ingredient can work wonders. Believe it or not, cinnamon can be your secret weapon in orchid propagation. This aromatic spice not only enhances the flavor of your favorite dishes but also acts as a natural rooting hormone and antifungal agent.
When you're ready to propagate, simply sprinkle a little cinnamon on the cut end of the orchid stem. This helps to seal the wound and prevents any fungal infections that could hinder growth. Its antibacterial properties create a healthier environment for your new orchids to thrive.
You'll find that using cinnamon isn't only simple but also beneficial, making it an ideal choice for those who love to share their gardening knowledge. As you nurture your orchids, think about how this little tip can help others in their gardening journey.
Step-by-Step Propagation Process
To successfully propagate orchids, you'll want to follow a straightforward step-by-step process.
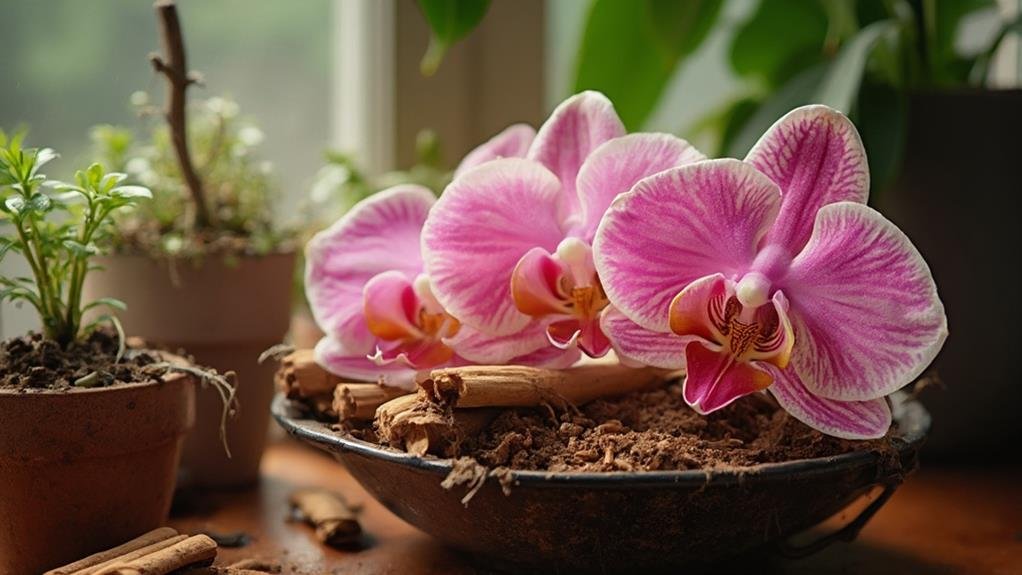
First, gather your materials: a healthy orchid, a sharp knife, a small pot, and your secret kitchen ingredient—cinnamon.

Begin by carefully inspecting your orchid for suitable stems or pseudobulbs to propagate. Look for those with at least two healthy growths.
Once you've chosen your section, cut it cleanly from the main plant. Be sure to make a cut just below a node, as this is where new roots will emerge.
After cutting, dust the cut end with cinnamon. This kitchen ingredient acts as a natural fungicide, promoting healing and preventing rot.
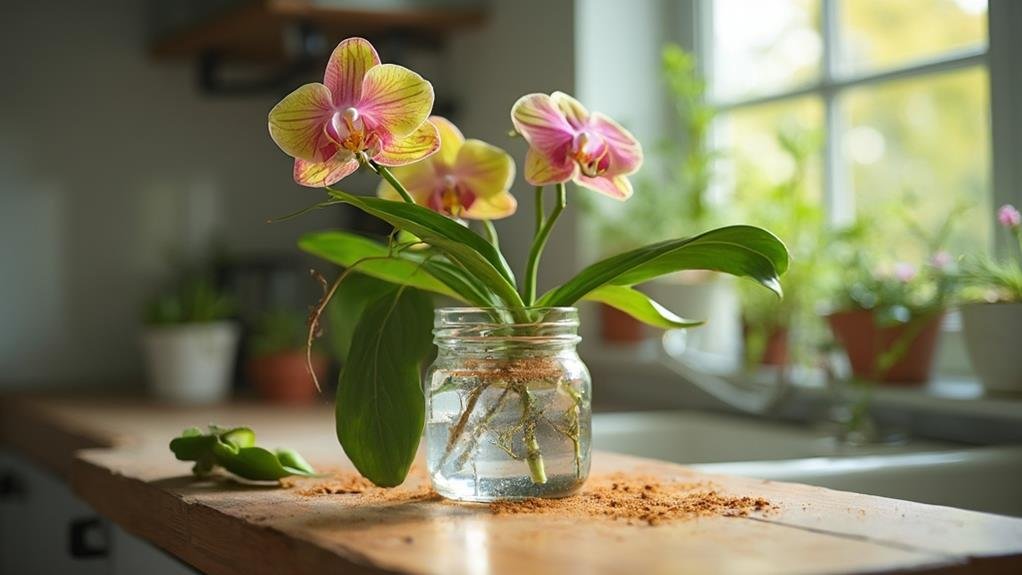
Next, place your cutting in a small pot filled with a well-draining orchid mix.
Water the cutting lightly, ensuring the medium stays moist but not soggy.
Position your pot in a warm, indirect light area, keeping an eye on humidity levels.
Tips for Successful Growth
After you've successfully propagated your orchid, nurturing its growth becomes your next priority. To guarantee your orchid thrives, provide it with the right amount of light. Orchids typically prefer bright, indirect sunlight, so place them near a window but avoid harsh, direct rays that could scorch the leaves.
Watering is essential, but don't overdo it. Allow the potting mix to dry out slightly between waterings—this helps prevent root rot. A good rule of thumb is to check the moisture levels with your finger; if it feels dry up to the first knuckle, it's time to water.
Fertilizing your orchid can also support its growth. Use a balanced orchid fertilizer every couple of weeks during the growing season, but be sure to dilute it to avoid over-fertilization.
Don't forget about humidity! Orchids thrive in humid environments, so consider placing a humidity tray filled with water and pebbles beneath your pot. This adds moisture to the air around your plant.
Lastly, be patient. Orchids can take time to adjust after propagation, but with your care and attention, they'll flourish beautifully. Your efforts will be a gift not just for you, but for anyone who enjoys their beauty!
Common Mistakes to Avoid

Avoiding common mistakes is essential for the successful care of your newly propagated orchids. One major error is overwatering. Orchids thrive in well-drained environments, so make sure you're allowing the medium to dry out between waterings. This prevents root rot and promotes healthy growth.
Another mistake to watch out for is placing your orchids in direct sunlight. While they do need light, too much can scorch their leaves. Aim for bright, indirect light for the best results.
Additionally, don't rush the fertilization process. It's tempting to feed your orchids frequently, but young plants require less fertilizer. Use a diluted orchid-specific fertilizer every few weeks to encourage growth without overwhelming them.
Lastly, avoid neglecting humidity levels. Orchids flourish in humidity, so if your space is dry, consider using a pebble tray or humidifier.
Frequently Asked Questions
Can I Use This Ingredient for Other Plants Too?
Yes, you can use that ingredient for other plants too! It often enhances growth and helps with propagation. Just make certain you adjust the amounts based on each plant's specific needs for best results.
How Often Should I Propagate Orchids Using This Method?
You should propagate orchids every few months, allowing time for growth between attempts. Regularly check their progress and adjust your techniques as needed, ensuring each propagation effort supports the plants' health and energy effectively.
Is This Propagation Method Suitable for All Orchid Species?
Not all orchid species respond well to this propagation method. You should research your specific orchid type first. Some thrive better with traditional methods, while others may adapt well to innovative techniques you explore.
What Is the Best Time of Year for Orchid Propagation?
The best time for orchid propagation is spring when temperatures rise and light levels increase. You'll encourage stronger growth, making it easier for your orchids to thrive. Enjoy watching your efforts blossom into beautiful plants!
How Long Does It Take to See New Growth After Propagation?
After propagation, you should see new growth within two to six weeks, depending on the orchid type and conditions. Keep the environment warm and humid, and you'll encourage faster, healthier growth for your plants.
Conclusion
By using cinnamon when propagating your orchids, you're setting yourself up for success. This simple kitchen ingredient not only helps seal cuts but also promotes healthy growth as a natural antifungal agent. Remember to provide proper care with bright, indirect light and controlled watering. With a bit of patience and attention, you'll soon have beautiful new orchids to enjoy. So, grab that cinnamon and start propagating like a pro! Happy growing!