If you've noticed your orchid's leaves turning yellow or its roots becoming mushy, you might be dealing with overwatering. Don't panic; there's a straightforward emergency hack that can help. By taking a few careful steps, you can not only save your plant but also set it up for healthier growth moving forward. The key lies in knowing when and how to act, which can make all the difference. But what exactly should you do first? Let's explore the immediate actions that could turn things around for your beloved orchid.
Key Takeaways
- Gently remove the orchid from its pot to inspect and assess the root condition for damage.
- Trim any brown or mushy roots with sterilized scissors to prevent further infection.
- Repot the orchid in a fresh, well-draining mix of bark chips and perlite for optimal drainage.
- Place the orchid in a breathable container with drainage holes to ensure proper airflow.
- Position the plant in bright, indirect sunlight and monitor humidity to support recovery.
Signs of Overwatering
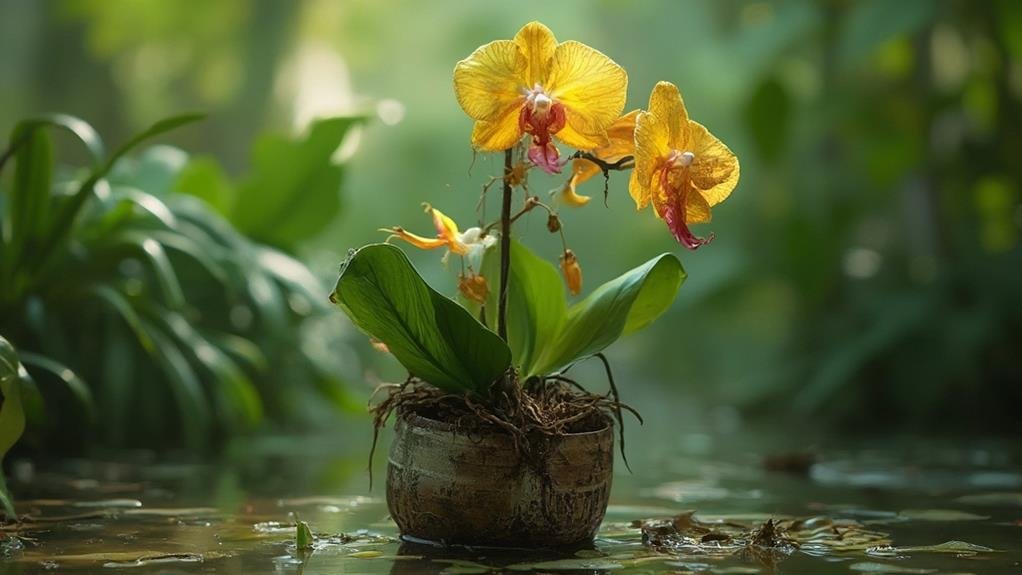
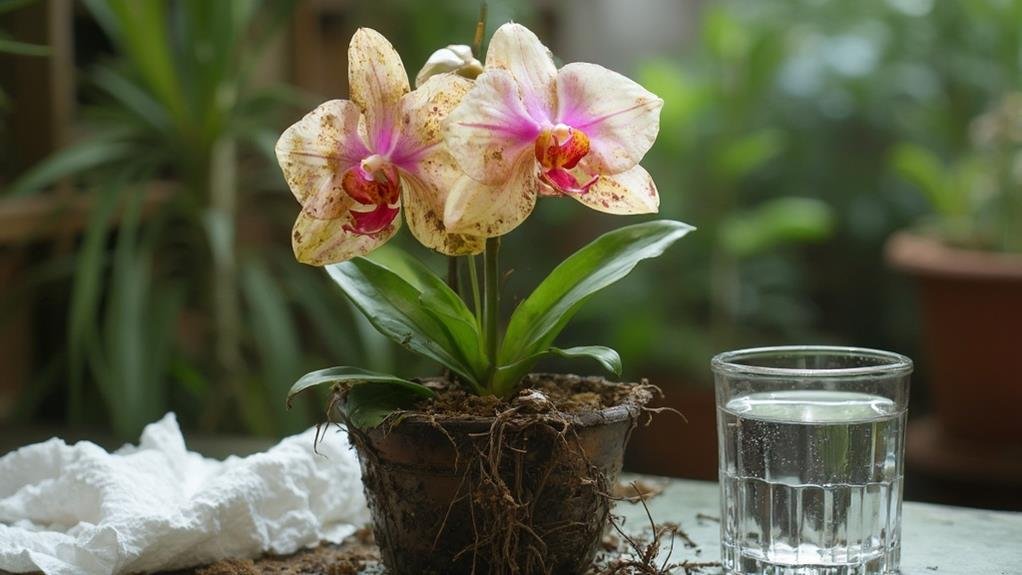
Identifying the signs of overwatering your orchid is essential to its health. When you care for these delicate plants, being observant can make all the difference. One of the first signs you'll notice is yellowing leaves. If your orchid's leaves are turning yellow, it could mean that the roots are drowning.
Another indicator is wilting; while orchids naturally droop when thirsty, wilting after watering suggests they're overwhelmed by moisture.
You should also check the roots. Healthy roots are usually firm and green or white, but overwatered roots become mushy and dark brown or black. A musty smell can also be a red flag; this often indicates root rot, which can jeopardize your orchid's survival.
Lastly, look for waterlogged media. If the potting mix is soggy and doesn't dry out, it's a sign that your orchid is getting too much water.
Immediate Steps to Take
If you suspect your orchid is overwatered, taking immediate action is essential to save it. Start by gently removing the orchid from its pot. This'll help you assess the roots and see if they're mushy or discolored, indicating rot.
If they are, trim away the damaged roots using sterilized scissors. This prevents further infection and encourages healthy growth.
Next, let the plant dry out. Place it on a clean, dry surface, ideally in a shaded area with good air circulation. Allow it to breathe for a few hours or even a day. This'll help evaporate excess moisture trapped in the potting medium.
While you wait, check the potting mix. If it's too compacted or retaining water, consider repotting your orchid in a fresh, well-draining mix. This'll help prevent future overwatering issues.
The Emergency Hack
Sometimes, a quick fix can make all the difference in reviving your overwatered orchid. If you notice yellowing leaves or mushy roots, it's time to act swiftly. Grab a pair of clean scissors or pruning shears and gently remove any dead or rotting roots. This step helps prevent further decay and gives your orchid a fighting chance.

Next, prepare a well-draining potting mix, ideally designed for orchids. If you don't have one, you can create a temporary solution by mixing bark chips and perlite. This mix allows excess moisture to escape, promoting healthier root growth.
Now, take your orchid and place it in a breathable container, ensuring it has drainage holes. Carefully position the plant in its new mix, covering the roots without packing them too tightly. This promotes airflow and helps avoid future overwatering.
Lastly, give your orchid a little time to recover. Place it in a well-lit area, but out of direct sunlight. Remember, patience is key! By following these steps, you're giving your orchid the best chance to bounce back, demonstrating your commitment to nurturing and serving these beautiful plants.
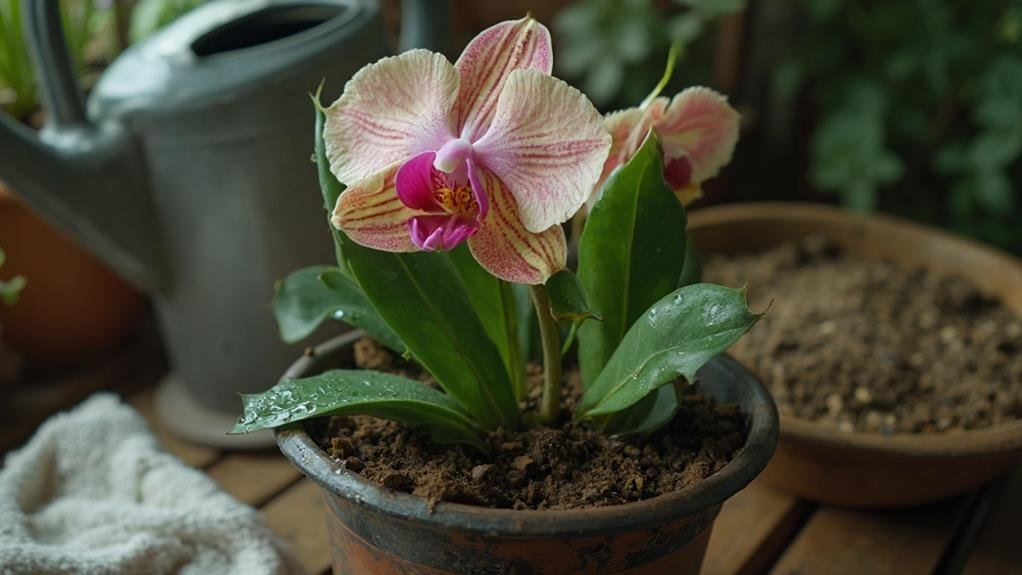
Repotting Your Orchid
After you've taken the emergency steps to address overwatering, repotting your orchid can further enhance its chances of recovery.
Start by choosing a pot that's slightly larger than the current one, ensuring it has proper drainage holes. Carefully remove your orchid from its old pot, gently loosening the roots. Take a moment to inspect them; trim away any brown or mushy roots, as these are signs of rot.
Next, prepare fresh orchid potting mix, which typically consists of bark, charcoal, and perlite. This mix promotes airflow and drainage, essential for your orchid's recovery.
Place your orchid in the new pot, spreading the roots out gently. Fill in around the roots with the potting mix, making sure it's snug but not too tight.
Lastly, water your orchid lightly. It's essential not to flood the roots again.
Post-Hack Care Tips

Once you've repotted your orchid, it's important to provide the right care to support its recovery.
Start by placing the orchid in a location with bright, indirect sunlight. This helps your plant regain strength without overwhelming it. Avoid direct sunlight, as it can stress the delicate leaves.
Next, monitor the humidity levels. Orchids thrive in environments with 50-70% humidity. If your home is dry, consider using a humidity tray or a room humidifier to maintain those levels.
Watering is significant now, but be cautious. Wait until the potting medium dries out slightly before watering again. You want to encourage healthy root development without causing further stress.
Fertilizing should be minimal during recovery. Use a diluted orchid fertilizer every 4-6 weeks, ensuring the plant isn't overburdened.
Lastly, keep an eye on your orchid's overall health. Look for signs of new growth or any yellowing leaves, which may indicate additional issues.
Long-Term Watering Guidelines
To keep your orchid thriving long-term, you'll need to establish a consistent watering routine.
Understanding the importance of proper drainage and recognizing the signs of overwatering will help you maintain a healthy plant.
Let's explore some practical tips to guarantee your orchid gets just the right amount of water.
Watering Frequency Tips
When it comes to maintaining your orchid's health, establishing a consistent watering routine is vital. Orchids thrive on a careful balance of moisture, and getting this right can make all the difference. Generally, you should water your orchid every 1 to 2 weeks, but this can vary based on factors like temperature, humidity, and the type of orchid you have.
To determine when to water, stick your finger about an inch into the potting medium. If it feels dry, it's time to water; if it's still moist, wait a few more days. Remember, it's far better to underwater than overwater. You want to guarantee your orchid's roots can breathe and avoid root rot.
Consider the seasons as well—your orchid may need more frequent watering during its growing season in spring and summer, and less during fall and winter.
Always check the conditions in your home; if it's particularly dry or warm, adjust your schedule accordingly. By being attentive to your orchid's needs and sticking to a consistent routine, you'll promote a thriving plant that can bloom beautifully for years to come.
Drainage Importance Explained
How can you guarantee your orchid thrives long-term? One key factor is making certain proper drainage. Orchids, unlike many houseplants, prefer their roots to breathe and dry out between waterings. When you choose a pot, opt for one with drainage holes, allowing excess water to escape. This prevents root rot, a common issue that can devastate your plant.
You should also consider the potting medium. Using a mix designed for orchids—like bark chips or sphagnum moss—promotes airflow around the roots. These materials help absorb moisture without retaining it excessively. It's crucial to avoid regular potting soil, as it can suffocate the roots and lead to overwatering.
When watering, do so thoroughly but infrequently. Water until you see it drain from the bottom, but make sure the plant isn't sitting in excess water afterward.
By adhering to these practices, you help your orchid establish a strong foundation for growth. Remember, a well-drained environment isn't just about preventing overwatering; it's about fostering a healthy habitat where your orchid can flourish and bring joy to others.
Taking these steps shows your commitment to nurturing life, both for your plant and for those you share it with.
Signs of Overwatering
Recognizing the signs of overwatering is essential for maintaining a healthy orchid. When you notice yellowing leaves, it's often a clear indication that your orchid's roots are sitting in too much moisture. If the leaves feel soft or mushy, they could be starting to rot. This is a critical moment for intervention.
You should also check for wilting, which might seem counterintuitive. While it's common to think wilting means a plant needs more water, in orchids, it can signify root damage from overwatering.
Another sign is the presence of mold or algae on the potting medium, pointing to excessively wet conditions.
Lastly, inspect the roots themselves. Healthy orchid roots are firm and green, but if they appear brown and mushy, it's a strong indication that they've been overwatered.
If you spot any of these signs, it's time to act. By adjusting your watering routine and ensuring proper drainage, you can help your orchid recover and thrive once again.
Your dedication to serving these beautiful plants will surely pay off, leading to a more vibrant display of blooms in your home.
Choosing the Right Potting Mix
When selecting the right potting mix for your orchid, focus on the ideal ingredients that promote healthy growth.
You'll also need to take into account drainage to prevent water from sitting at the roots, which can lead to overwatering.
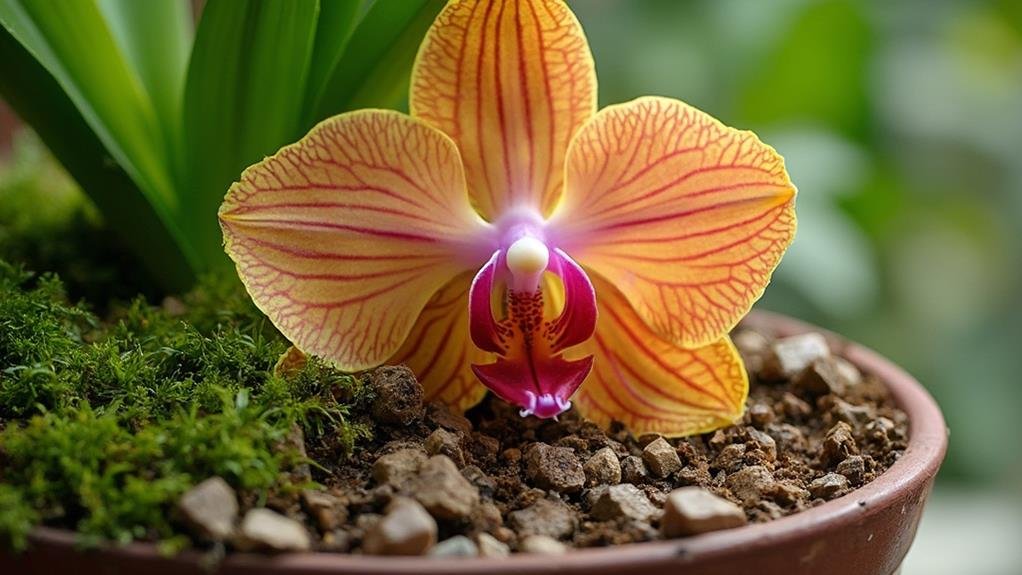
Ideal Ingredients for Mix
Choosing the right potting mix is crucial for your orchid's health, especially if it's been overwatered. You'll want to select a mix that promotes airflow and drainage, allowing the roots to breathe and recover. A well-blended orchid mix typically includes ingredients like bark, sphagnum moss, and perlite.
Bark serves as the backbone of the mix, providing structure and aeration. Opt for medium or fine-grade bark depending on your orchid type.
Sphagnum moss retains some moisture but drains well, making it a great addition to keep the roots happy without drowning them. Perlite adds extra drainage, preventing compaction and allowing excess water to escape.
You might also consider adding charcoal, which helps filter impurities and keeps the mix fresh.
If you're feeling creative, you can customize your mix based on your orchid's needs, but always prioritize drainage and airflow. This thoughtful approach guarantees that your orchid has the best chance of bouncing back from overwatering.
With the right ingredients, you'll be nurturing your orchid back to health in no time, serving both your plant's needs and your passion for caring for it.
Drainage Considerations
Proper drainage is vital for reviving an overwatered orchid and guaranteeing its long-term health.
Choosing the right potting mix is a significant step in this process. You want a mix that allows water to flow freely while still retaining some moisture for your orchid's roots. Look for a blend specifically designed for orchids, typically containing bark, perlite, and sphagnum moss. These components provide aeration and prevent water from pooling.
When re-potting, verify that the new pot has adequate drainage holes. If you can, opt for a pot made of breathable materials like terracotta. This helps excess moisture escape more readily.
After selecting your mix, you can gently remove your orchid from its old pot, shaking off the excess soil. Inspect the roots and trim any mushy sections before placing it in the new mix.
Ph Level Importance
Understanding the pH level of your potting mix is essential for your orchid's health. Orchids thrive in a slightly acidic environment, ideally between 5.5 and 6.5 on the pH scale. Choosing the right potting mix can make all the difference in preventing overwatering and promoting healthy growth.
When you select a mix, look for one specifically formulated for orchids. These mixes often contain bark, sphagnum moss, and perlite, which help maintain proper drainage and aeration while supporting the ideal pH level.
Regular potting soil can retain too much moisture, raising the pH and harming your orchid.
Testing the pH level of your potting mix is simple; you can use home testing kits available at garden centers. If your mix is too alkaline, consider amending it with slightly acidic components like peat moss or specific fertilizers designed for orchids.
Monitoring Orchid Health
Monitoring orchid health is vital for guaranteeing your plant thrives after an overwatering incident. Start by observing the leaves and roots. Healthy leaves should be firm and vibrant, not yellowing or wilting. If you notice any signs of distress, it's important to act quickly.
Check the roots—healthy ones are typically greenish or silvery, while brown or mushy roots indicate rot from excessive moisture.
Next, keep an eye on the potting medium. If it feels soggy, it's a signal to adjust your watering schedule. You'll want to allow the medium to dry out a bit before watering again. Remember, it's better to underwater than to overwater at this stage.
Also, consider the environment. Confirm your orchid has adequate light and proper airflow, as these factors contribute to its recovery. If you've moved your orchid to a drier spot, monitor its response to the change.
Frequently Asked Questions
Can I Use Tap Water for My Orchid After Rescuing It?
After rescuing your orchid, it's best to avoid tap water if possible. Tap water can contain chemicals harmful to orchids. Instead, use distilled or rainwater to keep your plant healthy and thriving.
How Often Should I Check for Signs of Overwatering?
You should check your orchid for signs of overwatering at least once a week. Look for yellowing leaves, soggy roots, or mold. Addressing these issues promptly helps keep your plant healthy and thriving.
What Type of Fertilizer Should I Use Post-Recovery?
After your orchid recovers, use a balanced, water-soluble fertilizer to support its growth. Dilute it to half strength, and feed your plant every two weeks during the growing season for best results and vibrant blooms.
Is It Safe to Mist My Orchid After the Emergency Hack?
Yes, it's safe to mist your orchid after recovery. Just guarantee you don't overdo it—light misting helps maintain humidity without risking more waterlogging. Keep observing your plant's response, adjusting as needed for its health.
When Should I Expect My Orchid to Show Signs of Recovery?
You'll typically see signs of recovery within a few weeks, but it depends on your orchid's condition. Keep an eye on new growth and healthier leaves; those are great indicators that your plant's bouncing back.
Conclusion
By following these steps, you can effectively rescue your overwatered orchid and help it thrive again. Remember to monitor its health closely, adjust your watering habits, and choose the right potting mix to prevent future issues. With a little care and attention, your orchid will bounce back and reward you with beautiful blooms. Don't forget to keep it in a well-ventilated spot as it recovers. Happy gardening!